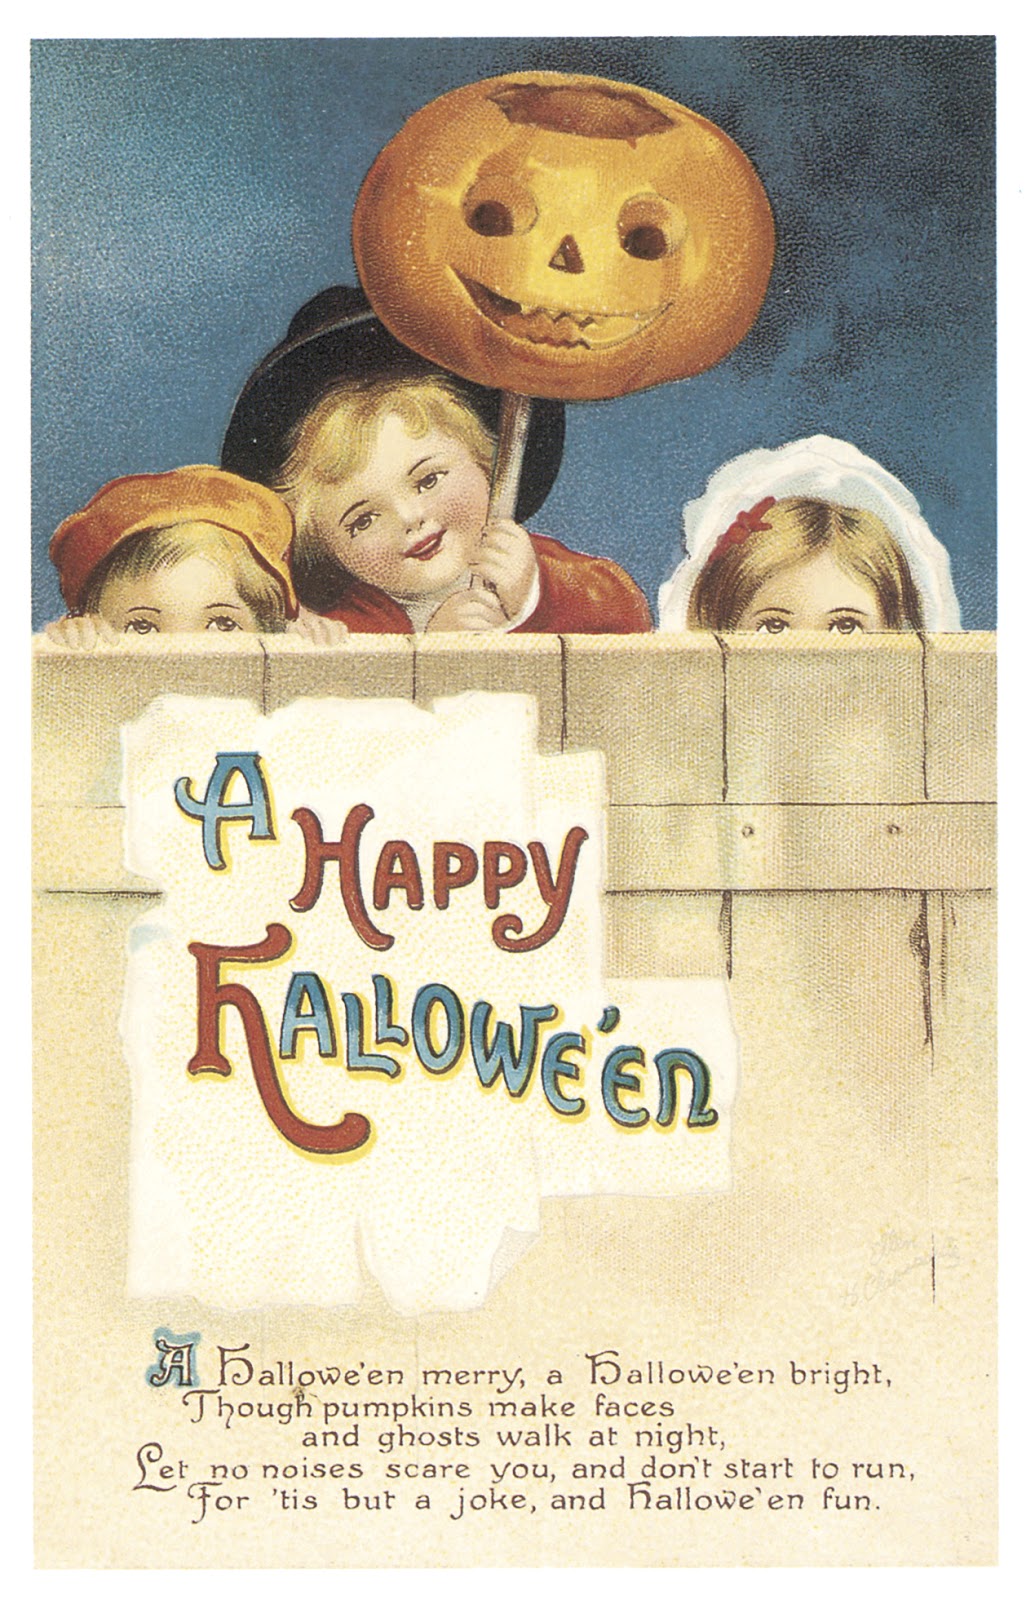
Please feel free to use any of the vintage images on the website in your artwork. Be sure to share your artwork with us. This is a labor of love and I love to see what you create. Please do not post the original unaltered image on the web but post your artwork and link back to this site for the original image. Please do not sell or post the image alone or in a collection without my permission. Thank you. I can't wait to see what you create!

Showing posts with label Halloween. Show all posts

Monday, September 9, 2013

Halloween Bracelet Tutorial

You gals inspired me after all your kind comments on my last tutorial. On Sunday I had a little time and put together another tutorial for this simple Halloween bracelet project.

Supply List:
Americana Acrylic Paint, Snow White
DecoArt Traditions, Prussian Blue Hue & Carbon Black
Claudine Hellmuth Studio Multi Medium Matte
Steel Wool
Various foam applicators/ brushes
Stencil brush
Spellbinders Nestabilities, Circles
Bead Landing, Metal Cuff Bracelet (Michaels)
Ranger Non Stick Craft Sheet
The following pages were designed to be printed in 4x6 format on glossy photo paper. Halloween Images for Bracelet


Directions:
First dab a little of the Traditions Prussian Blue paint on the craft sheet and lightly pounce your foam pouncer into the paint. Tap off excess onto craft sheet.
Then pounce the surface of the metal bracelet with the Traditions Prussian Blue paint. What is great about this paint is that it easily covers the metal surface unlike some paints that bead up on metal. Let paint dry.
Then dab the Traditions Carbon Black on the craft sheet and follow the same steps. Take care to lightly apply the black in almost a translucent layer. I like to make the texture of the foam applicator appear on the surface. Creating almost a bubbly appearance. Let dry.
The next step is to take a small amount of the Americana Snow White and add a few drops of water to create a thin wash. Dip stencil brush into the wash. Use your finger to move the bristles creating white droplets. Hold the brush close to bracelet so droplet hit surface. Let dry.
Gently take steel wool an rub the surface here and there to create a worn look.

Using the appropriate circle die, cut out the image from the supplied PDF above. I used one slightly smaller then the surface so it would be framed by the painted background. Apply image to the surface using the multi medium matte. Cover the painted surface and image with the muti medium matte. If you want to retain the clear gloss of the image you can use a clear epoxy over the image area but I liked the distress look of the paint marks that matte medium creates. Let dry.
Admire finished project on your wrist.


Saturday, September 7, 2013

Halloween Coaster Tutorial

I am so excited to present my first detailed tutorial to you. Please leave a comment for me so I know that you have stopped by. I have had several requests to do a tutorial and thought this coaster set would be the perfect fun Halloween project. The group of images are from previous posts here on Clearly Vintage. I posted a PDF file of the images below or you can click on the Halloween label at the end of this post to see previous images I have shared.

What I love about this project is that it can be used as coasters or you can just make the box to put treats inside. You could also drill a hole in each coaster and use them as ornaments. You can even change the theme totally and use any vintage images.


Product List:
DecoArt Traditions Paint, Burnt Umber
Americana Paint, Buttermilk and Whispering Turquoise
Claudine Hellmuth Studio Multi Medium, Matte(gel, I use this instead of glue and to finish the project)
Liquitex Gesso
DecoColor extra fine paint pen,White
Versa Color ink cube, Pinecone
Tim Holtz Tissue Tape, Elements
Brown Raffia
Round Wood Box and 8 wood discs or as many needed to fill box (found at AC Moore)
Die or punch, round (correct size for your box and wood discs)
Various shape foam applicators
Paper towels
Ranger Non stick craft mat
Halloween images (see PDF link below)
One scrapbooking paper for reverse of coaster. I used a brown and orange dot from a MME Paper Pad.

Directions:
Print the images on your color printed Halloween Images PDF

Take appropriate size die or paper punch and cut out 8 images you would like to put on coaster and one for the box lid. At the same time cut out 10 circles from the scrapbook paper you will be using for the reverse side of the coaster. Mine was from My Minds Eye.

Gesso the wooden circles and box. Do not sand. Paint the coasters with the Whispering Turquoise paint. Let dry. Repeat on other side of coaster.

Pat the Traditions Burnt Umber paint onto the outside inch of the circle. With a moist paper towel gently rub the brown paint away exposing bits of the blue layer below. Let dry. Repeat on other side of coaster.


Take white paint pen and make random white dots along the perimeter of the circle.

Run the Versa Color cube along the edge of the Rounded Halloween image. Glue Halloween image to the front of the coaster using the multi medium matte. Cover whole top surface with the medium in order to protect the image. Let dry.


Repeat this process on the reverse side of the coasters. Using the scrapbook paper circles for the center image. For efficiency work on all eight fronts and then all eight backs at the same time. Paint the exterior of the box using the same process as the coasters. First paint box with the blue paint. Then apply the brown paint and remove excess with a moist paper towel. Apply random white dots with paint pen. Paint interior of box with brown paint. Let dry.

Apply tissue tape to the rim of lid.

Stain with brown paint and remove excess.


Apply image to lid and scrapbook paper circles to inside of box lid and bottom.

Accent around the image on lid with white paint pen.


Tie Raffia to exterior of box
 

Sunday, October 28, 2012

Saturday, October 27, 2012

Friday, October 14, 2011

Crepe Paper Costumes

A few more of the crepe paper costumes from the Dennison booklet.  Wow they just get more and more intricate!  It is hard for me to believe that people actually made these costumes.  I love the 20's style.


Saturday, October 8, 2011

Clearly Vintage 187


These images are from the Dennison booklet from 1925 as well.  I just love the the details.  It is hard to believe that people made such intricate costumes out of crepe paper.   The booklets include directions but the time involved for a disposable costume seems silly.